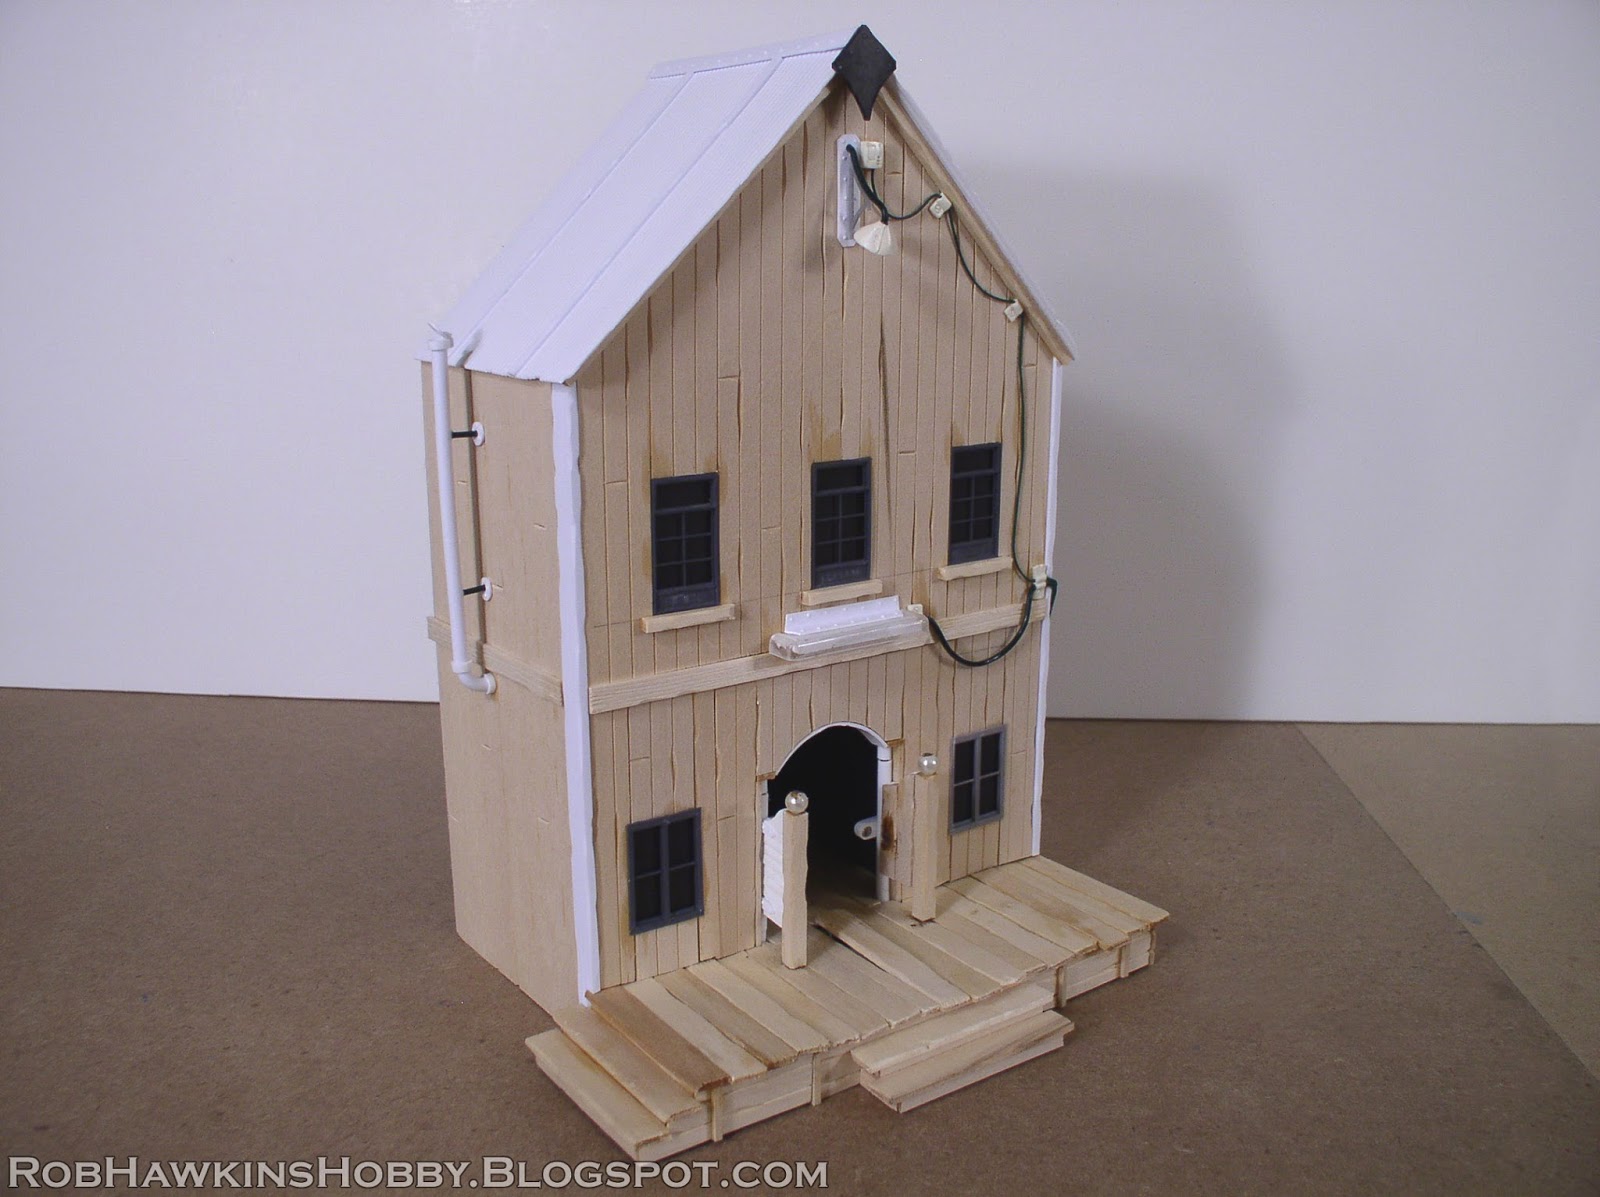
Here's a look at another project I've been working on for Outlaw Miniatures. These buildings are for an upcoming demo table. They're fronts, and will line the sides to form a town street, perfect for a showdown at high noon.
Building the Buildings
I haven't really done any step-by steps for the Wild West buildings, so here's a little insight into their underlying construction.
Once I frame out the basic structure with foam core, I build up a boardwalk by stacking a few layers. These are glued to the building front, and the sides are framed out with basswood strips. The stairs are also made from layered foam core, with basswood siding and trimmed popsicle sticks for the tops.
The siding is done with textured basswood panels– in this case it's angled siding. I trim the pieces to fit the building and cut out holes for the windows. The windows themselves are plastic model railroad windows (O-Scale, I think).
I also cut a space in the siding for the doors. The doors are my own scratch-built and resin-cast creations.
If the building has a balcony, I'll add that next, using foam core for the flooring and square basswood for the support posts. The posts extend up oast the floor because they will also form the corner posts of the railing. In this shot you can also see some brick-textured styrene that I used for the building's foundation below the wood siding. The bank above uses this for the entire first story; banks need to be a little more sturdy.
To plank the boardwalk and balcony I use more popsicle sticks, trimmed to size and distressed. These are also cut to fit around the posts.
The front wall of the building usually extends above the roof to accommodate the sign. The top is framed with thick styrene and basswood. The styrene is scored with a knife to create the wood grain texture. The roof itself has been covered with rivet-punched styrene sheets resembling a sheet metal structure.
For the railings, I mark and drill out small holes for the balusters.
The balusters are cut from thin matchsticks.
The balusters are pushed into the holes and a strip of thin, square basswood is glued overtop to form the railing.
For the finishing touch, I insert a pin into the corner post and glue a round bead overtop.
With the railing complete, I add the tech details like wiring, lights, and neon signs.
In an upcoming post I'll show off the finished building, along with a terrain tutorial for painting neon signs.
'Til next time!
This week I'm able to show off the finished Sedition Wars display boards. If you made it to Gencon you probably got to see the Rivet Wars diorama and these boards in person. I think the Wrath of Kings diorama made it to the show as well.
You can check out the company sites for the various games here:
I'll be adding more detail shots of the Sedition Wars boards under normal lighting conditions to my terrain gallery. I've got more detail shots of the Rivet Wars table as well. First, I have to reorganize the page because it's become so bloated with pics it's almost impossible to edit. I'll likely break it down so the main gallery page only shows a large image for each board and links to a separate gallery of detail shots. Should be easier to navigate.
Here's the layout of all four boards linked together:
These shots were taken in low-light conditions so the red LEDs would really pop. The images are a sort of virtual tour from the airlock into the heart of the Strain infection.
Once I get the terrain gallery sorted out, I'll post an announcement. Be sure to like my Facebook page and follow me on Twitter so you don't miss out.
Before I go, here's a quick peek at what's coming down the pipe:
'Til next time!
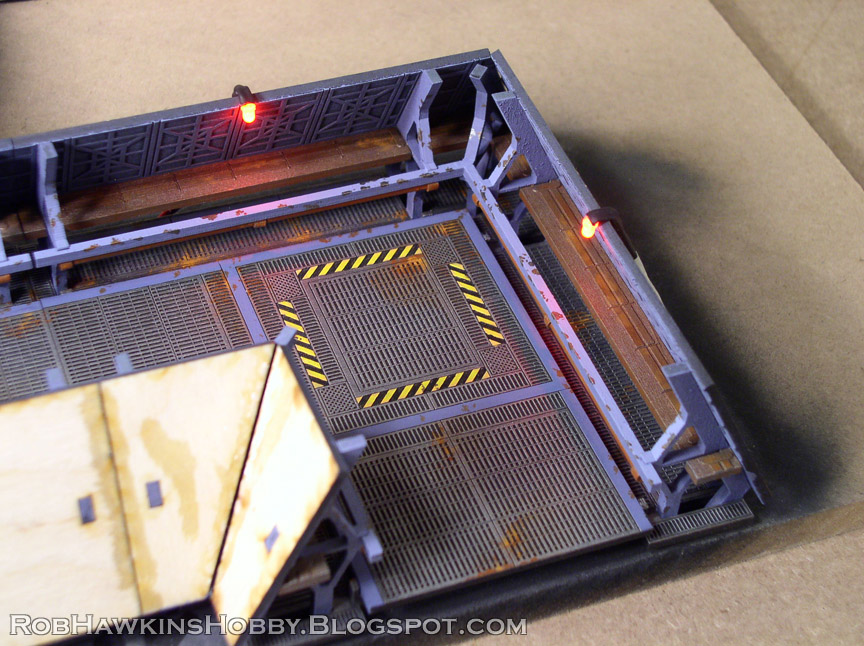
Cool Mini Or Not commissioned me to build some lighted display boards for Sedition Wars. The task was to use Fantasy Arc's laser-cut Bug Hunt Corridors. We settled on 4 2'x2' boards that could be used as one large 4'x4' table, two 2'x4' displays, or four separate 2'x2's.
The Layout
I received a box full of Bug Hunt Corridor kits, and came up with the following layout:
I then got to work. Because of the intricacy of each corridor section, they needed to be painted in parts because there's no way to fit a brush in there once everything was glued together. The floors were laid in first, and the wall segments were assembled separately so they could be plugged into the finished floor grating.
Here's how everything fit together– the interior girders and the outer wall sections that go overtop.
The rooms were given a more cream-colored appearance using Model Masters Desert Sand and white sprays The rust chips were painted on by hand and the blood spatters added once everything was assembled.
A Note on Vallejo Game Colors:
I tried out a few new paints on this project. Vallejo Game Color Shadow Grey, Wolf Grey, and Ghost Grey. I must say, wasn't terribly impressed with the performance of the paint. It went on well enough and had some nice opacity, but it doesn't dry the same color it comes out of the bottle. For example, the Shadow Grey was much more purple when painted on, but dried more blue-grey. The Ghost Grey lived up to its name, because I'd paint it on and see a nice bright highlight line. Once it had dried, the highlight was barely visible.
The Vallejo color worked out well enough for this terrain project since I was mainly basecoating and drybrushing, but I can't imagine using these paints to blend color on a miniature because the end result wouldn't look at all like what you had painted on. Has anyone else noticed this, and does the entire Vallejo line suffer from this problem, or just the greys?
The Lighting
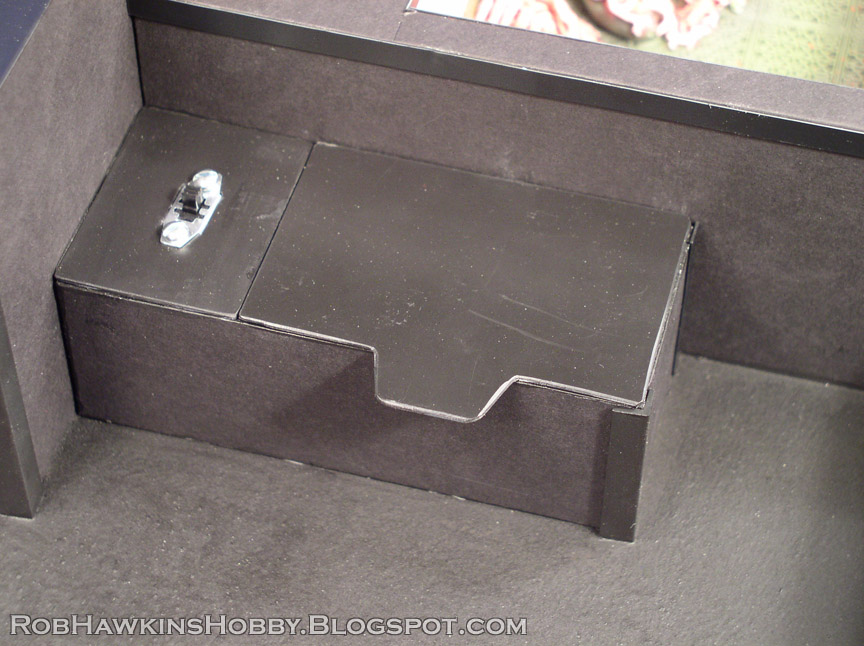
Each board section has about 20 LEDs to illuminate the corridors and rooms. The wiring was installed under the flooring, with the lights coming up over the outer walls to shine down inside.
These two shots show the finished assembly. The naked wood exteriors of the corridors needed to be covered.
I came up with a solution using black foam core that would provide a clean outer shell and cover the lights.
Here's the board section with its outer shell. It just needs some corner strip covering and the base blackened.
Each board section has its own power source and switch. They run off a simple 9-volt battery.
The Strain Infection
CMON wanted one of the board sections to be overrun with the Strain infection– a bio-organic virus that converts matter to its own horrific designs. To accomplish this I used Aves Apoxie® Sculpt to create tendrils and cables that snake around the corridors like it's reconfiguring the station into some unholy vessel.
To paint the tendrils, after priming the board I sprayed the infected areas with Model Masters Medium Green. P3 Pig Iron was drybrushed overtop to create a metallic green.
The deck grating was painted normally with the Shadow Grey trim and rust. All of the grey trim and yellow caution lines shift toward the green spectrum the closer they are to the Strain infection.
In these shots you can see some of the green tint on the walls and caution stripes.
Coming up, I'll show off the finished board sections with their lighting. For now, here's a little peek:
Looking through the corridors with the red lighting always reminds me of that scene in Event Horizon. You know the one.
'Til next time!